Download the Installer
Windows SetupYou will receive a file named Cold Monitor_0.1.0_x64-setup.exe (or a zipped version of the same). It is approximately 3.3 MB. Save it somewhere you can find easily — your Downloads folder is fine.
.zip archive, right-click it and choose Extract All… first, then run the .exe inside.

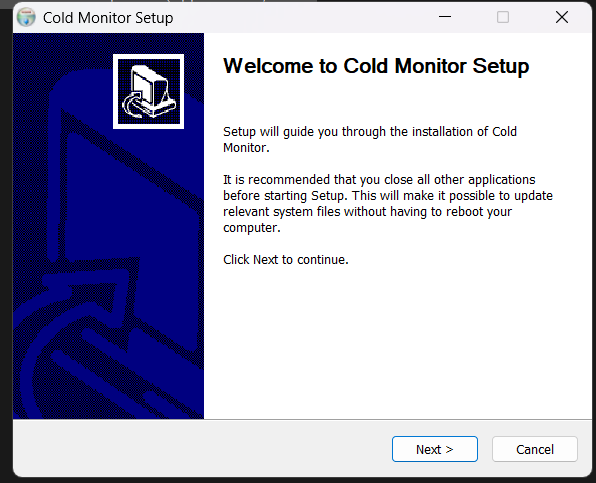
Run the Setup Wizard
Windows SetupDouble-click the Cold Monitor_0.1.0_x64-setup.exe file. If Windows SmartScreen shows a "Windows protected your PC" warning, click More info → Run anyway. This is expected during the beta — the installer is not yet code-signed for public distribution.
Once the wizard opens, click Next > to continue.
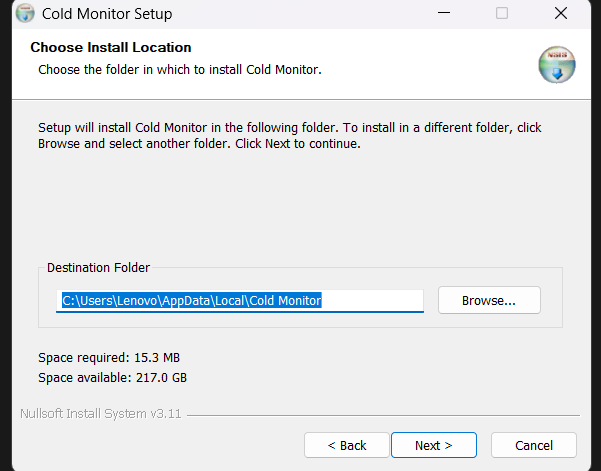
Choose Install Location
Windows SetupThe wizard defaults to C:\Users\<you>\AppData\Local\Cold Monitor. We recommend keeping this default — it installs per-user and does not require admin rights.
Required space is around 15 MB. Click Next >.
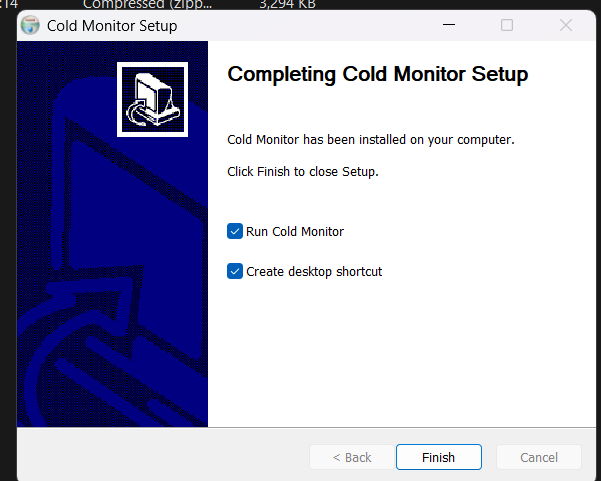
Finish Installation
Windows SetupWhen setup completes, you will see the "Completing Cold Monitor Setup" screen. Leave both options ticked:
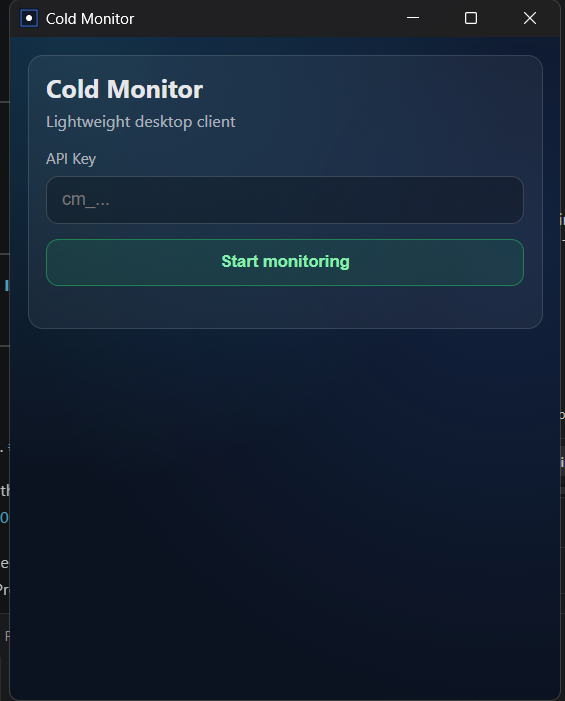
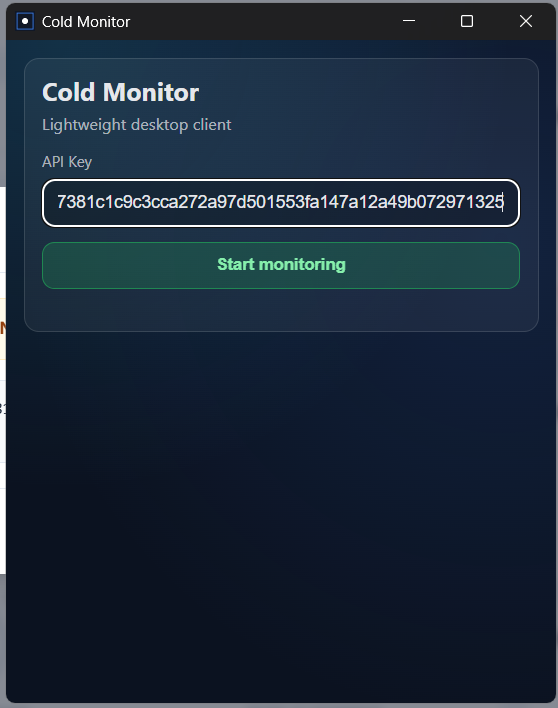
First Launch — Enter API Key
First RunYour admin will provision an employee account and send you an API key that starts with cm_… (or a raw hex token). Paste the full key into the API Key field and click Start monitoring.
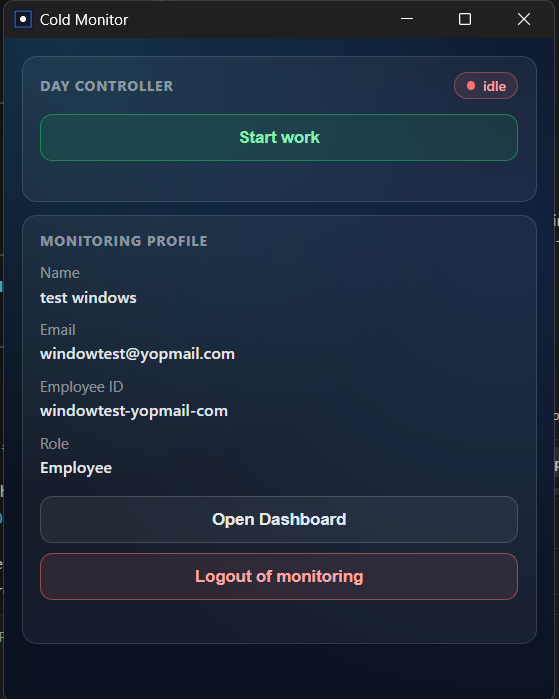
Start Your Work Session
Daily UseAfter signing in you will see your Monitoring Profile (name, email, employee ID, role) and the Day Controller at the top. When the status badge reads idle, no capture is taking place.
Click the big Start work button to begin your session. The status will switch to active and the agent will begin capturing screen frames in the background.
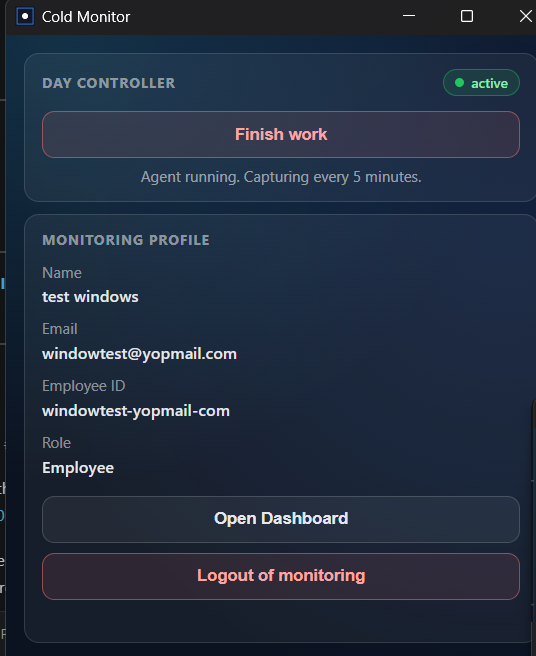
Stop / Finish Work
Daily UseWhen your workday ends — or any time you want to pause capture — click Finish work. The status badge returns to idle and the agent stops capturing immediately. You can start a new session later the same day; all frames from the day roll up into a single report.
Open Dashboard & Reports
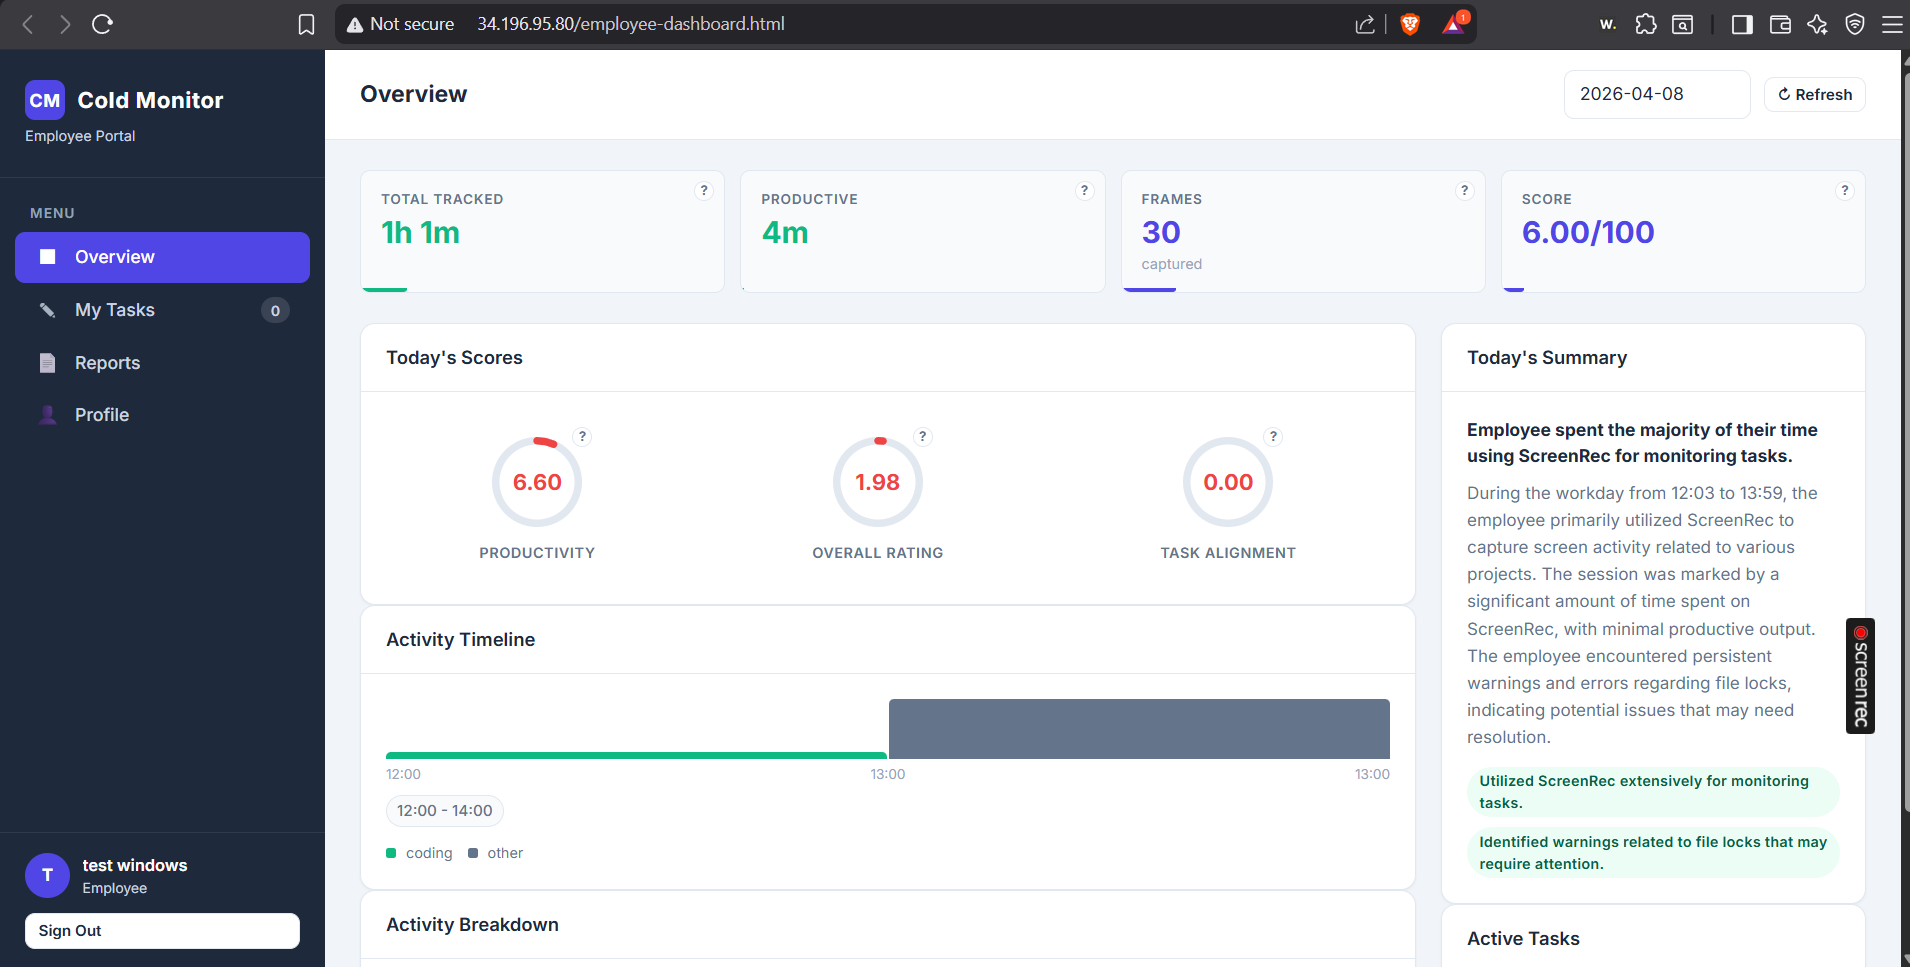
DashboardClick Open Dashboard in the app to launch your employee portal in the browser. The dashboard shows: